How to correctly install the Silent Power Blades
| 19 October, 2018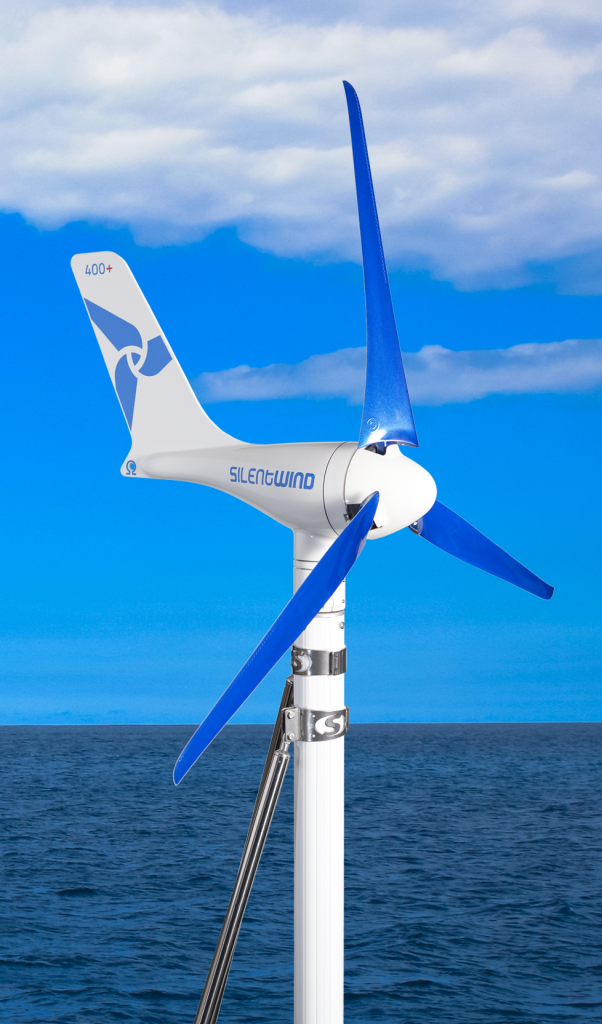
The Silent Power Blades on a set are balanced to each other and need to have the same weight with a maximum difference from each other of 0,6gr. Typical weight of each blade is between 142 and 150 grams. The Silent Power Blades are hand laminated, made of 100% carbon fibre mats. Once the blades are static and dynamic balanced, the purchase of one replacement blade is possible just by knowing the weight of the good blades.
The profile on the cutting edge, the so called turbulator, coming from the aircraft industry, creates a turbulence on the wind and the squeezing noise when the blades cut the wind will be drastically reduced.
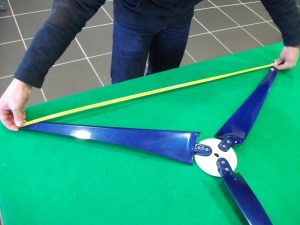
A smooth-running generator is achieved when the distance from blade tip to blade tip is equidistant and the adapter Hub is running straight. These 2 points are important to reduce noise and vibrations to a minimum.
This will also increase operation life of bearings. The Silent Power Blades due to their UV resistant blue paint will keep the shiny looks for long time.
The Silent Power Blades where successfully tested in the wind tunnel at hurricane wind speed of 122 km/h, achieving 5480 rpm with sonic speed at the blade tips.
Attaching the Blades to the Wind Generator
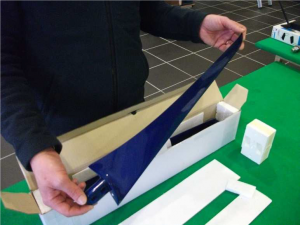
1. Remove the blades from the box.
Check for scratches or transport damages.
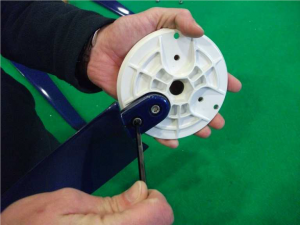
2. Attach each blade to the hub with two screws.
Do not tight the screws completely.
3. Make sure the distance between the blade tips is the same, to avoid vibrations.
Tighten the screws completely ensuring that the position of the blades will not be changed.
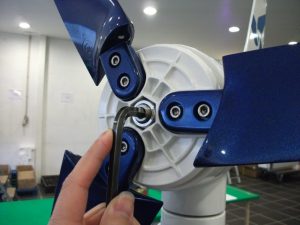
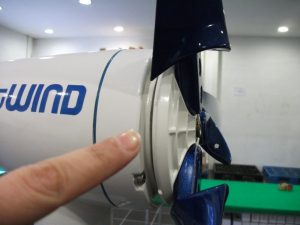
4. Attach the hub to the rotor shaft with the M16 nut.
The M16 nut should be tighten with the arrow pointing towards the generator body.
5.Make sure the hub doesn’t wobble when spinning (this will also
avoid vibrations).
6. Attach the nose cone by pressing it against the hub.
7. Start enjoying free energy from the wind!

